Page 25: Headlights
February 2008


Before I got sick, I went to Bobileff's on Saturday and helped rack and organize my parts. Dave, who is helping organize their projects, had prepared a list of the work I could do so I gathered up several parts and took them home. The first project was the headlights.
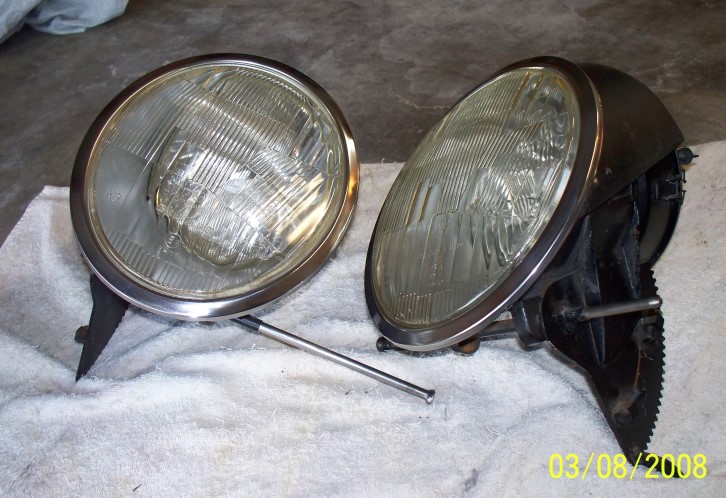
About 26 years ago I had carefully removed them from the car, put some strapping tape across the lens, wrapped each in a large towel, and put them in separate boxes. When I removed them it was hard to tell what condition they were in. Here's how they looked "out of the box."
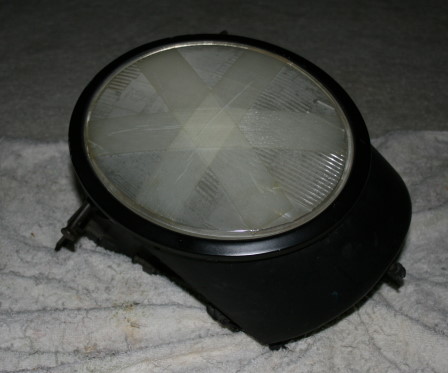
The plan was to recondition them by carefully disassembling them and painting the body matt black and the inside bright sliver. First I carefully bent back the tabs behind the matt black ring and removed the lens.
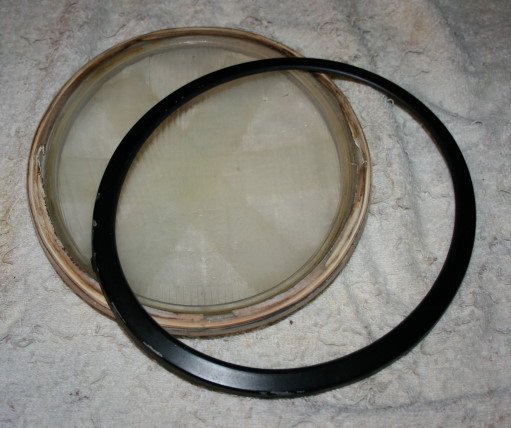
The inside, while very dusty, was actually in excellent condition. You can see the place on the lens where I wiped the dust with my finger.
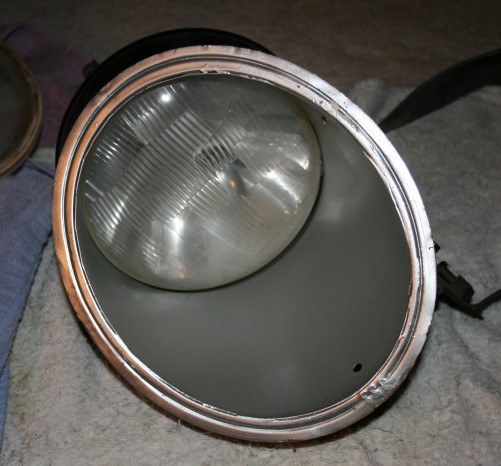
I was surprised to find an entire headlight inside the assembly. I had thought it was just a reflector with bulbs. I was pleased to discover they were the original Carello lamps, and in perfect condition (except that the glue holding the glass to the reflector didn't hold any longer)! Here is the first headlamp in parts and all cleaned up.
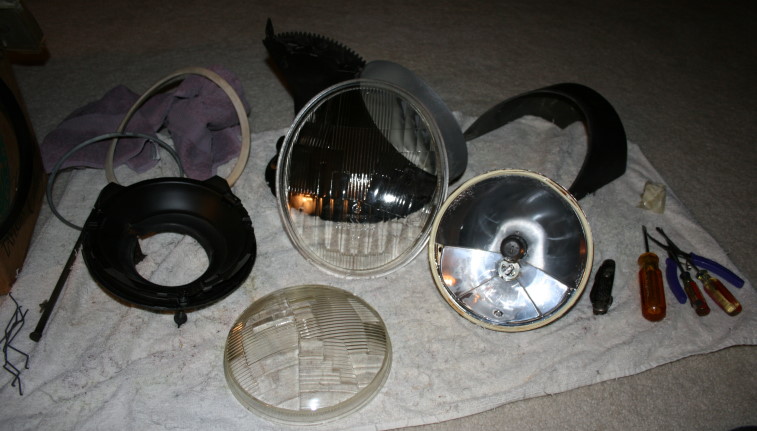
It turned out to be in such excellent condition that I just reassembled it. There was not a mark on the glass, and I realized that with less than 25,000 miles on the car it didn't get much chance to pick up road chips. Also I imagine the laid-back position of the lamps during the day protects them a bit from chips, having a very low angle of incident with a flying pebble.
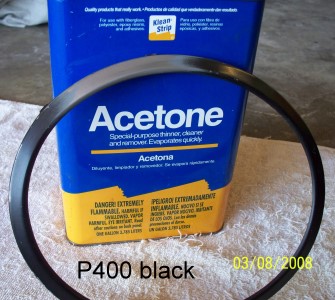
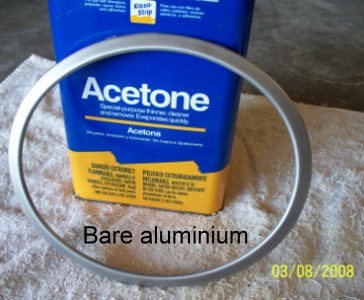
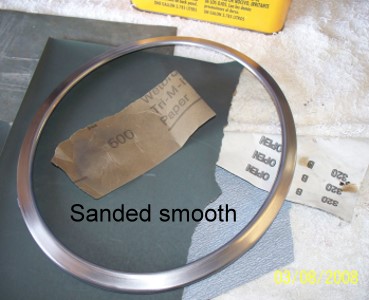
The last step was to remove the black paint from the rims and polish them, as on an S. I wiped them with acetone until the black and a layer of grey primer came off. Then I lightly hand sanded the aluminum with 320 and 600 grain sandpaper. Then I polished the rims with black, white, and red rouge on a buffing wheel.
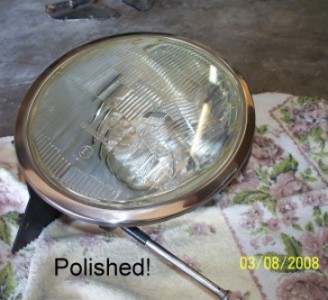
Here are the completed assemblies, ready to go back to Bobileff's.