 |
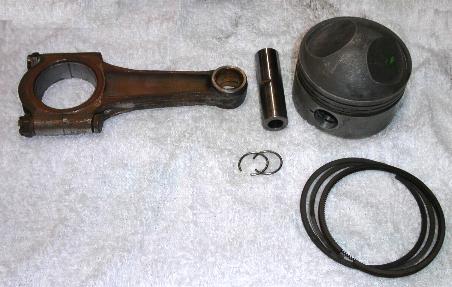
On the home front, I'm working on the pistons and rods. Step one was to pull them out of the box and clean them up. I started by dismantling each set of rod, end cap, pin, piston, and rings.
|
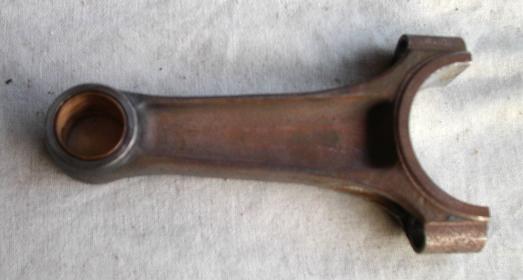 |
Here's how the rods look at the start of the effort.
|
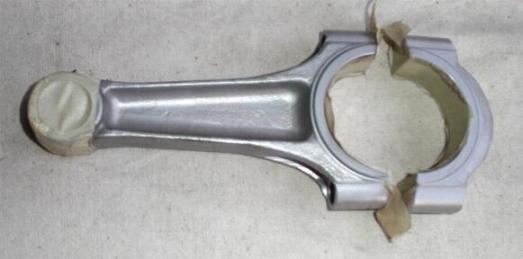 |
After protecting the bearing surfaces with tape, the light coat of surface rust was cleaned off using fine glass bead blasting. (If you restore cars at home, you have to get a bead blast cabinet.)
|
 |
The next step was to sand and polish the surfaces to remove scratches, nicks, etc. Sanding was done using an 80 grit flap wheel, followed by a 120 grit flap wheel. I then polished the rod using a buffing wheel on a bench grinder. This whole process took two or three hours for this rod. Only 11 more to go. Photos really don't capture how nice it looks.
|
There are still a few tiny scratches after polishing, so I may go over this again with finer sandpaper or emerypaper. The goal is to remove all scratches and surface imperfections where a crack could start. A flawless surface therefore makes the rods much stronger. This work also lightens the rods, so after all the rods are finished the next step will be to balance the set. This will mean a bit more sanding and repolishing.

