Putting The Interior Back Together
February 2008


With the Miura coming along, I need to get serious and finish the Urraco. I can't believe it's been a year since I last spent any quality time on it, but I'm resolved to work on it every weekend until it's done. I think the project stalled for a couple of reasons. First was the paint, and that wound up being a take-it-to-bare-metal job, which is a tremendous amount of work. In addition, the two radiator fans came on as soon as I turned the key on, and that's not right. One fan should come on when the water gets hot and a dashboard switch manually controls the other. This makes sure all of the battery amps go to starting the engine, and not running the fans at the same time.
In investigating this problem I found that the thermal switch in the radiator had died and some previous owner had decided to ground the fan wire instead of replace the $28 switch. It was a simple matter to get a new radiator thermal switch and rewire the fan. The second fan had also been grounded. I traced that back to the dashboard, and there I found lots of old dirty connectors that had built up resistance and overheated, causing some of the plastic connectors to show signs of melting. All of those connectors had to be replaced, and all of the contacts were cleaned up.
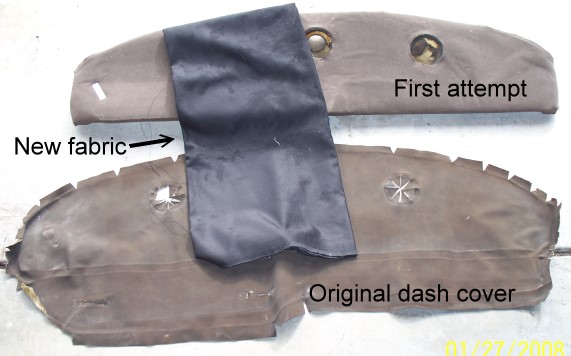
At that same time I decided to replace the dashboard top, which looked horrible. It was shrunken, faded, and stained. I tried to find a fabric that was close to the original, and recovered the dashboard. I wasn't happy with the result. It wasn't simply that the fabric didn't match. It was close but didn't match and that's worse than having a completely different color. It looked cheap and just wrong. And that's where the whole project stalled.
Three weekends ago I resolved to put the interior back together but I had to improve the dashboard top. I went to the fabric store and found a nice, black ultrasuede. (Actually, that's a brand name, and I'm not sure if the fabric is really UltrasuedeTM.) The material looks great and works well on the dashboard. Here are the fabrics:
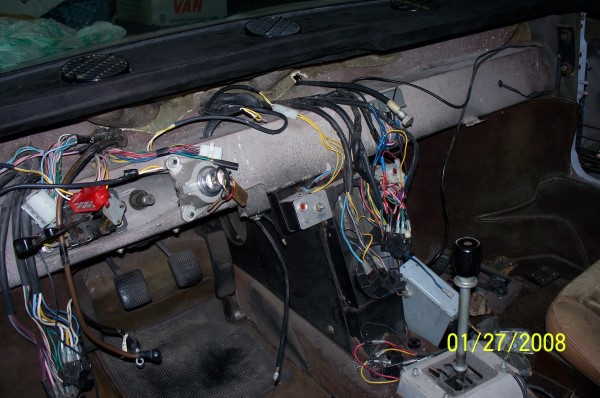
Once I had redone the top and liked the result, I spent the next two weekends checking the wires and reinstalling the dashboard. Although it looks a bit intimidating, the wiring is really pretty simple. There are just a lot of parts to get back in the right place.
And here's how it looks today. Not only the dashboard, but the air conditioning and the center console between the seats were installed.
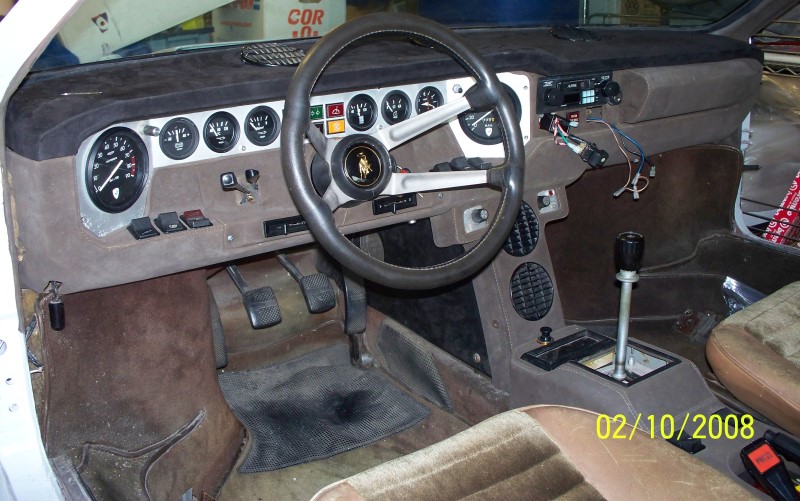
The wires hanging out below the radio are for that second radiator fan and the brake test lamp/switch. I'm still testing those. I also need a boot for the shift lever. The original is torn.
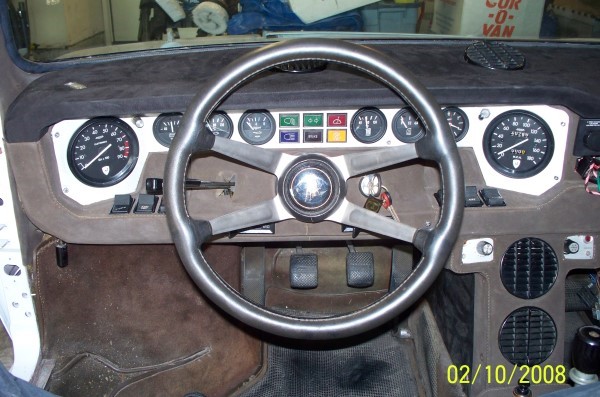
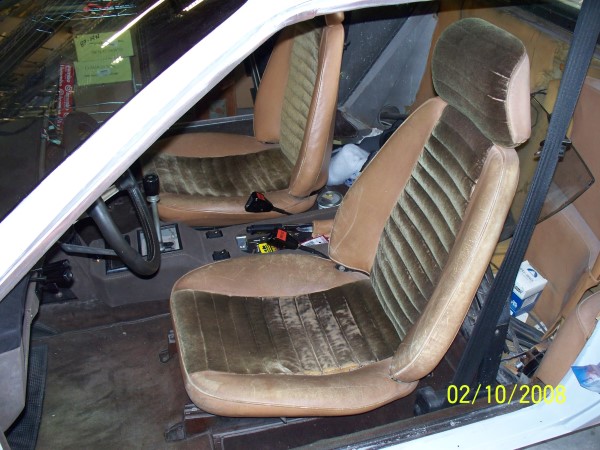
Here's a picture from the driver's seat. I haven't seen this for years.
Next weekend I'll finish reinstalling the interior. The "rear seats" (if they can be called seats) need to go back in, and then I'll clean the whole interior. I'm not sure what to do about the driver's seat. The center is a fuzzy fabric and the sides are leather. A lot of the fuzziness has worn off the seat bottom, and the leather dye has faded and there are a few age cracks. Since I'm selling the car it doesn't make financial sense for me to spend the $7k or so to redo the interior - I don't think I'd get that much more for the car. But I really don't like the condition of the driver's seat. I'll have to see what I can do about it. Maybe I can just redo the seats, but it's a slippery slope. Now the dashtop looks great (and will go better with an orange/red car), but by comparison the dash looks old. If I redo the seats, the rest of the interior will look its age.
I'm still thinking Lamborghini red/orange for the exterior (although personally I still like yellow). The "lobster" or "pumpkin" color is very nice, and "safer" for sale without being YARIC. (Yet Another Red Italian Car.)